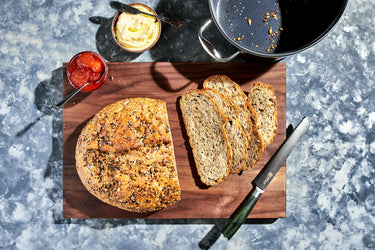
No-Knead Seeded Bread
Time to complete
about 5 ½ hours, including cooling
Serving size
One large loaf
Print
What You Need


Ingredients
Preparation
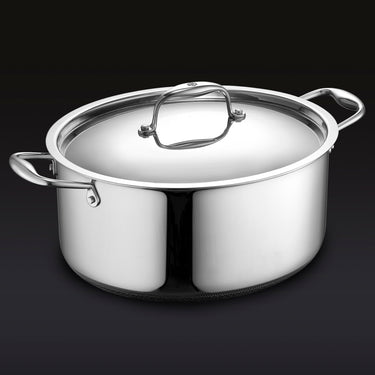
With minimal hands-on time, this no-knead seeded bread is a celebration of a tender crumb contrasted with nutty, crunchy seeds. Using instant (rapid rise) yeast means you can have this fresh-baked bread the same day you begin to make it. Baking the bread in a oval HexClad Dutch oven helps to develop a crisp exterior while keeping the interior of the loaf fluffy and moist.
- Make the dough. In a very large bowl, whisk both flours with everything except the water and molasses. In a medium bowl, whisk the water with the molasses. Using a rubber spatula, gradually mix wet ingredients into dry ingredients. Keep mixing, using a spatula to incorporate all the dry ingredients from bottom of bowl. Continue to mix until a sticky dough forms.
- Cover with plastic and let stand in a warm spot (about 70°F/20°C) until poofed and doubled in size, 2 to 3 hours. The time it takes for the dough to proof depends heavily on the temperature of your kitchen. If your kitchen is too cool, you can proof the dough in the oven with the oven light turned on.
- Make the topping. In a small bowl, mix together all of the seeds. Sprinkle bottom of a Hexclad oval Dutch oven with flour.
- Form the loaf. Using a rubber spatula or plastic bench scraper, scrape dough out onto a lightly floured work surface. Using floured hands, gently stretch and flatten slightly. Working in a clockwise motion, fold the edges of the dough to the center, gently pressing to help it adhere. Flip so the dough is seam side down and, using floured hands, shape it into an oval loaf. Transfer to the prepared pan.
- Lightly brush the top of the loaf with oil, then sprinkle the topping mixture evenly on top and on the sides.
- Cover the Dutch oven with the lid, and let rise in a warm spot (about 70°F/20°C) until doubled in bulk, 45 minutes to 1 hour. The most important part of the second rise isn’t the time proofing but what the dough looks and feels like. It should be doubled in bulk and domed on the top. You know it is ready when you prod it with a floured finger (about 1 inch/2 ½cm deep) and it no longer springs back.
- About halfway through the second rise, preheat the oven to 450°F/230°C. Score dough on top with a sharp knife (make a cut along the top about ¼-inch/½cm deep and 6 to 8-inches/15cm to 20cm long)
- Transfer to oven and bake with the lid on for 25 minutes, until the bread is lightly browned. Remove the lid and bake about 25 minutes more, until deeply browned. Transfer Dutch to cooling rack for 10 minutes, then carefully transfer loaf to rack to finish cooling (you can slide a metal spatula under a side of loaf to begin to lift it up then slide out of pan). Let cool for at least 1 hour before slicing.


